After having invested in your favorite coffee, all you need now is a vessel worthy of its achievement. Nothing says morning like a delicious cuppa coffee and these mugs will make your ordinary mornings special. Not your typical espresso mugs but we designed them to fit the personality of any home. These are handcrafted ceramic mugs that elegantly display your taste and sophistication.
Let us walk you step-by-step through the entire process of how we made them.
These are slab built mugs, which means you will have to roll out a slab about 6mm in thickness and cut out the template for the mugs.
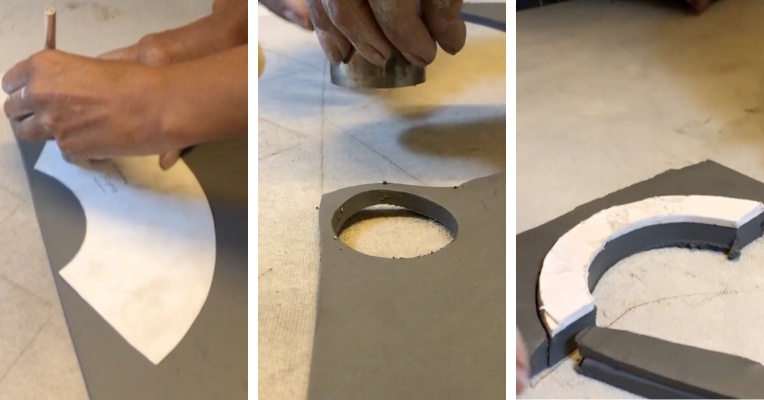
To make the template-
Draw two concentric circles on a piece of paper. The inner circle measures 3 inches in radius and the outer circle measures 7 inches in radius. Once the circles are drawn, cut out the inner circle so you are left with a donut shape. Now, divide this donut into three equal parts and you should be left with three equal arches of the circle. We are going to use one of these parts or one third of the circle as our template.
For the base of the mug, cut a circle which is 1.5 inches in diameter.
To make the handle, use a template to cut out a shape that forms the letter ‘C’ as shown in the image.
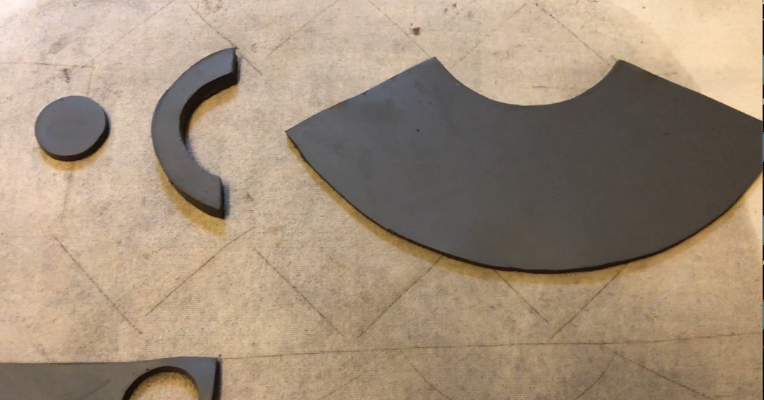
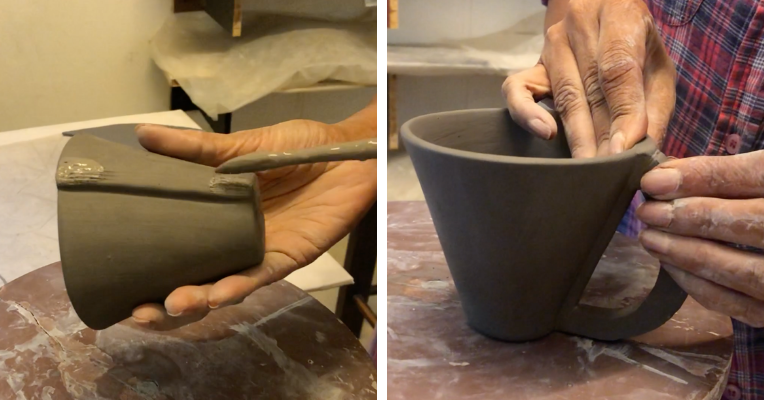
You should have the three shapes cut out on your slab, as shown in the image above and now they are ready to construct the mug with.

Keep the base slab on a turntable so that it is easier for you to turn your piece around while building it. Score and slip the base slab all along the circumference of the circle. Now score and slip the left side of the arch slab as well as the longer side in the bottom. Lift the right side of the same slab, flip it and score it from the back side. This is required later to attach the two sides together.

Wrap and attach the arch slab all along the scored sides of the base slab. The slab will automatically attach at an angle due to the shape of the template we created. Once the slab is wrapped completely, it will overlap in the end. This is why we scored the back side of the slab, which can now be gently pressed into and attached completely. Make sure you press and squeeze all along the sides of the bottom slab to fully attach the two slab pieces together.
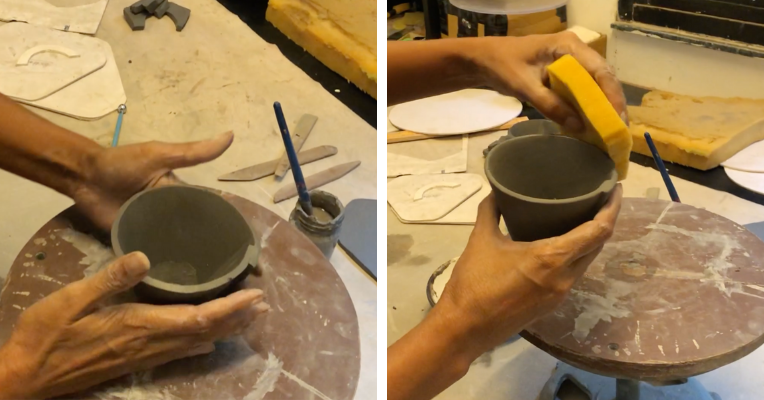
After the attachments are done, now is the time to shape your mug from all around. Keep turning the wheel as you mold the mug with your hands to give uniformity in shape. Smooth both the outside and the inside surface of the mug with a wet sponge. Remember to smooth out the rim as well to avoid any rough areas to drink from.
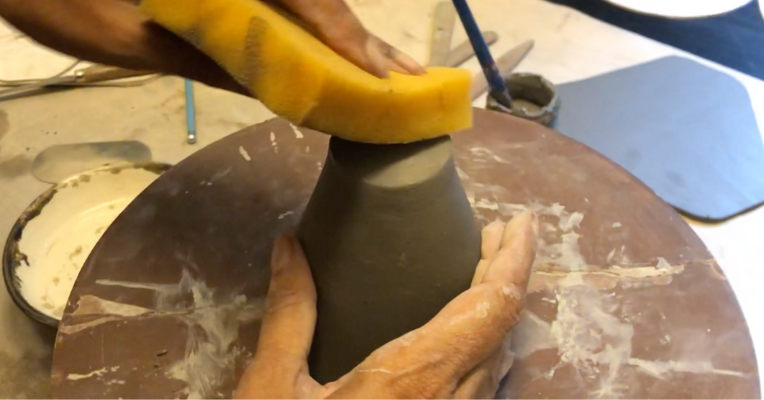
Flip the mug upside down and blend the attached slabs together as you can see in the image. Blend them together really well to have a seamless attachment. Smooth the surface with a wet sponge. Flip it back upright.
To make the handle- Score and slip the two edges of the handle that you will be attaching to the mug. Now, score and slip the surface of the mug where you will be attaching the handle. Gently hold the mug and press the handle into the scored surfaces and attach. Clean out the squeezed out slip from the sides and smooth the handle all over with a wet sponge.

Sign or stamp the bottom of your mug after finishing.
Here is the final espresso mug after glazing.
Like this tutorial? Don’t forget to Pin it!